October 21, 2026 · Indumor
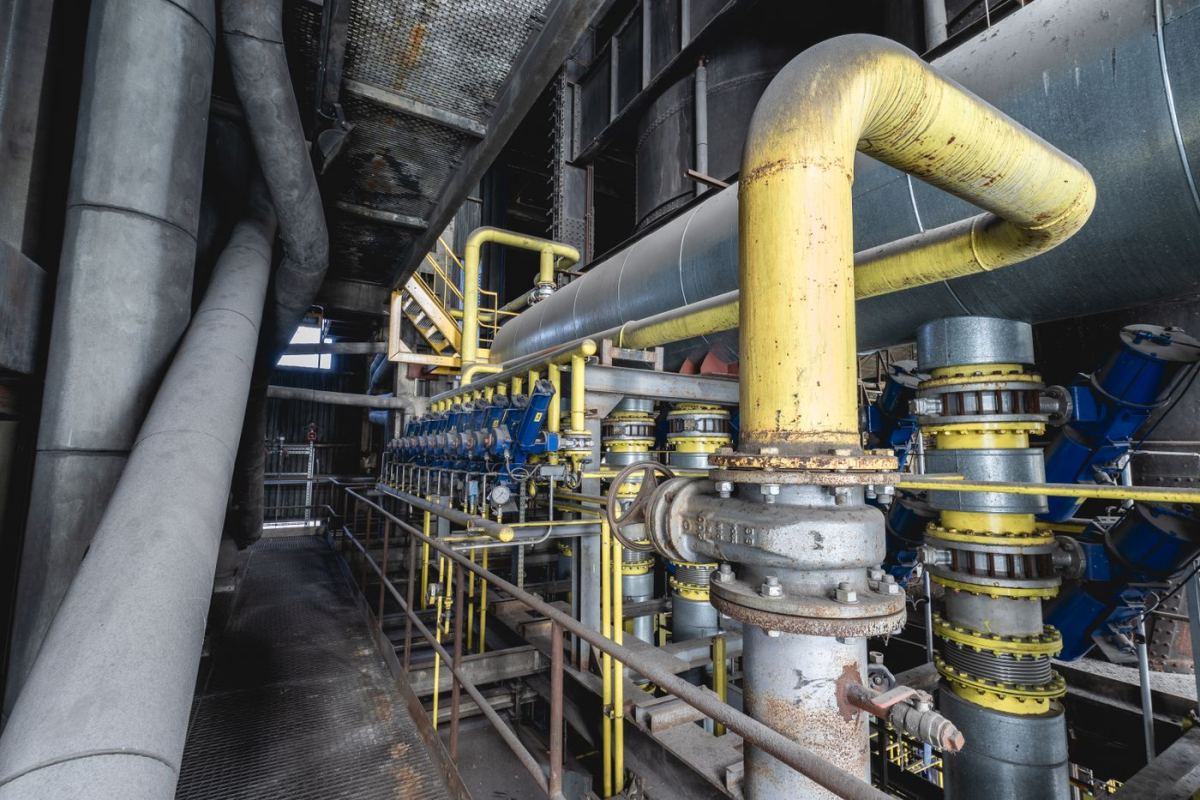
People assume it makes no difference whether you test a pipe with water or with air, and that air is handier because nothing gets wet and there is nothing to drain. It is the other way around. Compressed air stores far more energy than water at the same pressure: if something gives way during the test, water drips and air explodes. That is why the codes prefer hydrostatic testing and leave pneumatic testing for when water is not possible, at lower pressures and with extra precautions.
Here is how a proper hydrostatic test is done, in eight steps.
- Set the test pressure. The project code sets it. For process piping under ASME B31.3 it is at least 1.5 times the design pressure, corrected upward when the design temperature is high. For power piping under ASME B31.1, also 1.5 times design pressure. Nor is it overshot: the test must not take any component beyond what it can take. It is never picked by eye.
- Isolate what is not being tested. Pumps, relief valves, instruments and equipment that cannot take that pressure are removed or blinded off. A relief valve that lifts during the test proves nothing.
- Check the supports. A gas line full of water weighs far more than in service; sometimes temporary supports are needed.
- Fill and vent. Fill from the lowest point, with the high-point vents open until water comes out free of bubbles. The water must be clean and, for stainless piping, low in chlorides.
- Raise the pressure gradually. In steps, with calibrated gauges of a suitable range, so the reading falls near the middle of the dial. While it rises, nobody stands in front of flanges or plugs. And the gauge gets watched: sun on the pipe heats the trapped water and raises the pressure by itself; in winter, on the other hand, the water must not freeze and the steel must not be so cold that it turns brittle.
- Hold the pressure. ASME B31.3 requires holding the test pressure for at least 10 minutes; the examination can then be done at a pressure no lower than the design pressure.
- Examine every joint. Welds, flanges and threads must be exposed: that is why joints are not insulated before the test. Any leak, however small, is repaired and the line is tested again.
- Depressurize, drain and document. Pressure comes down slowly, the line is drained with the vents open so it does not pull a vacuum, and then dried. Everything goes into a test record: pressure, time, gauges with their calibration certificates, and signatures.
A hydrostatic test does not replace weld examination: it complements it. The best piping is the piping that arrives at the test already checked in the shop, with spools prefabricated and inspected before they ship.
To see why prefabricating spools pays off, read shop vs field piping fabrication, and for the paperwork, the quality dossier. At Indumor we build industrial piping and skids ready for testing. Send us the isometric and we will quote it.
← Back to the Knowledge Hub
